I just thought I’d see how many adjectives I could fit into that title. Should I have thrown in a few more for good measure? Anyway…I got crafty again yesterday. And I thought I’d tell you about it in case you felt like getting crafty, too! My mother-in-law was hoping to get a wreath or something festive to put on the door, and with the general budget-keeping and crafty nature I’ve found myself in lately I said, “Why don’t we make something!?!”
I suggested using some ribbon or bows and eventually found myself starting at a circle you can arrange flowers in (please tell me what to call it so I can update this post and not sound like a ninnymuggins), a bag of ribbons and bows, some tape, and no clue what I was going to do. Here are said items…
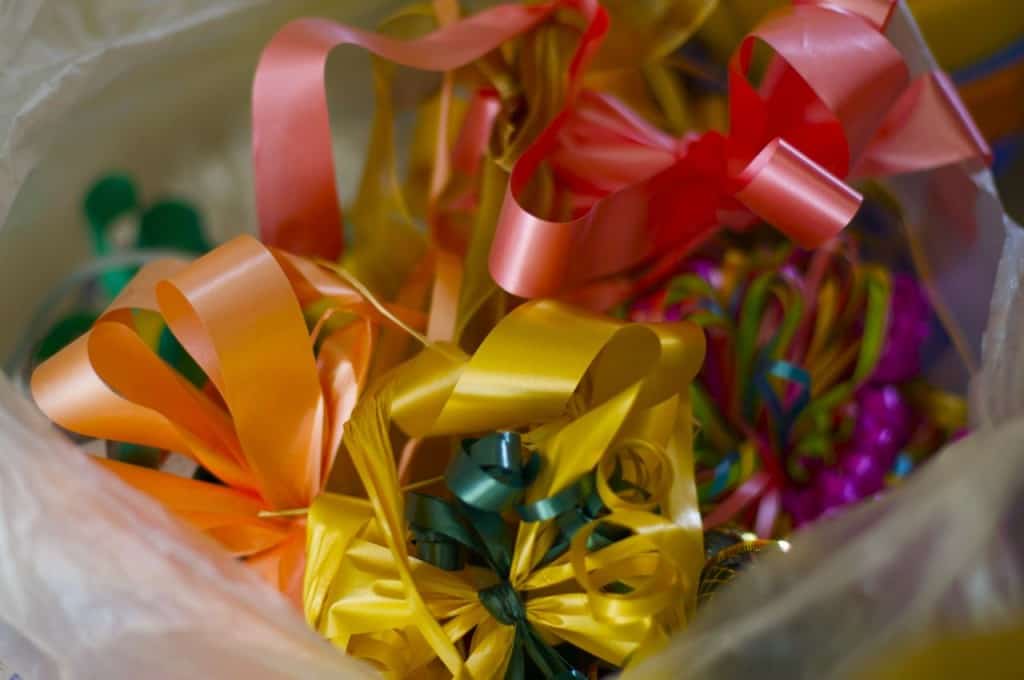
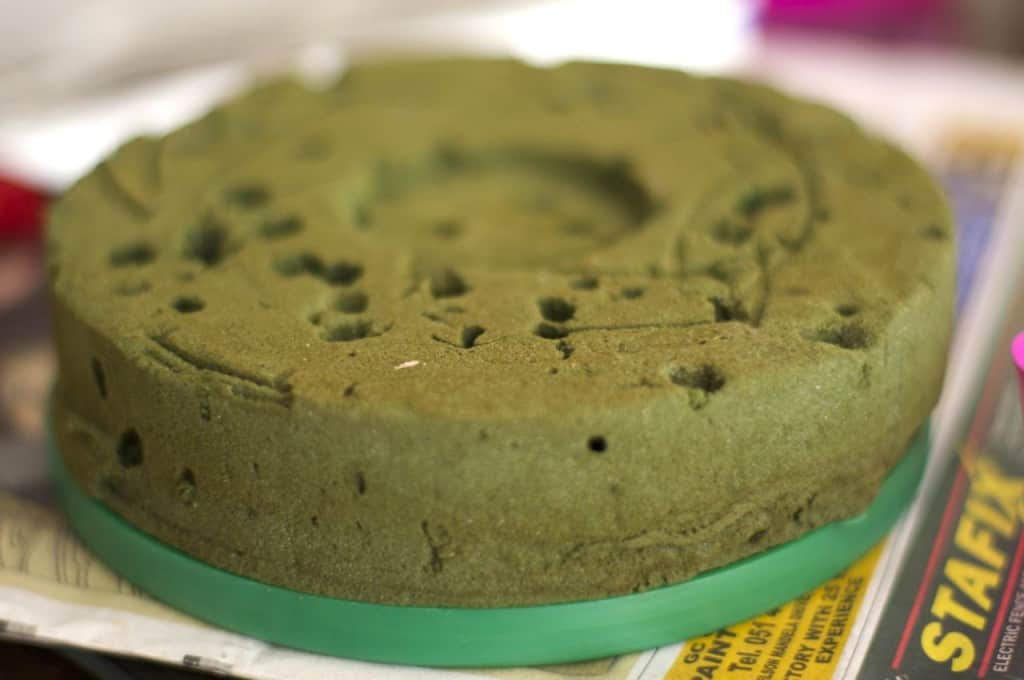
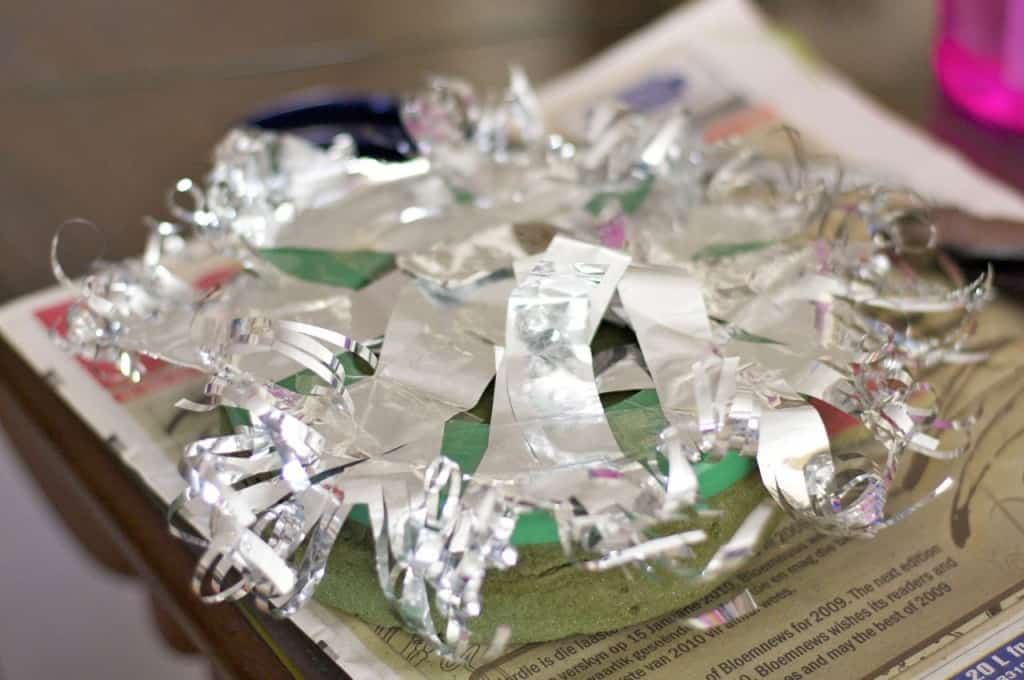
I stared at everything for a while and then decided, “Well, I’ll just get started and see what happens.” I started by taping a shiny piece of string to the base so that it would be easy to hang the wreath (pictured later). In the bow bag, I found one of those silvery wrapper things that a store-bought bouquet of flowers comes in. I started cutting it into strips, and then made the delightful discovery that I could cut the edges into a fringe and curl them with scissors the way you curl ribbon on a gift. Â So this became the bottom layer. (I decided to flip the flower sticking thing oasis over since it was easier to tape stuff to the plastic side.)
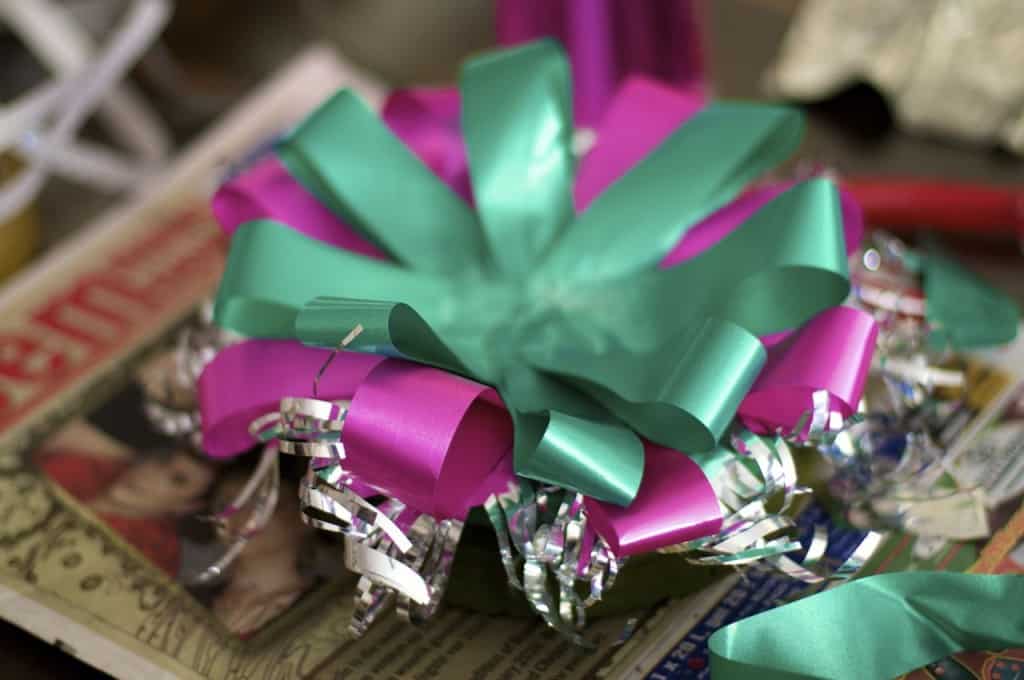
Since Mark and I decorated the tree in a sort of bright-pastel theme, I decided to choose some bows in keeping with the colour scheme. I untied one of the bows (and stabbed my palm with scissors in the process — be careful!) and began layering it around the circle. I suppose it was around this point when I started to think this project had some potential and I started getting excited. 🙂
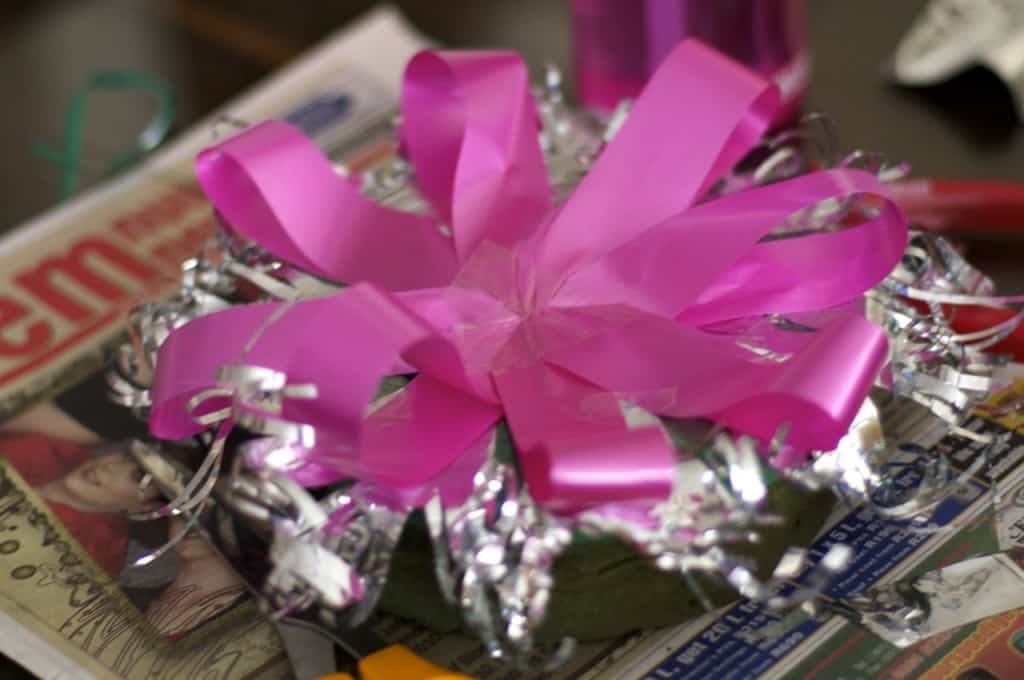
I chose a nice matching green for the next layer, and layered it in the spaces between the pink loops.
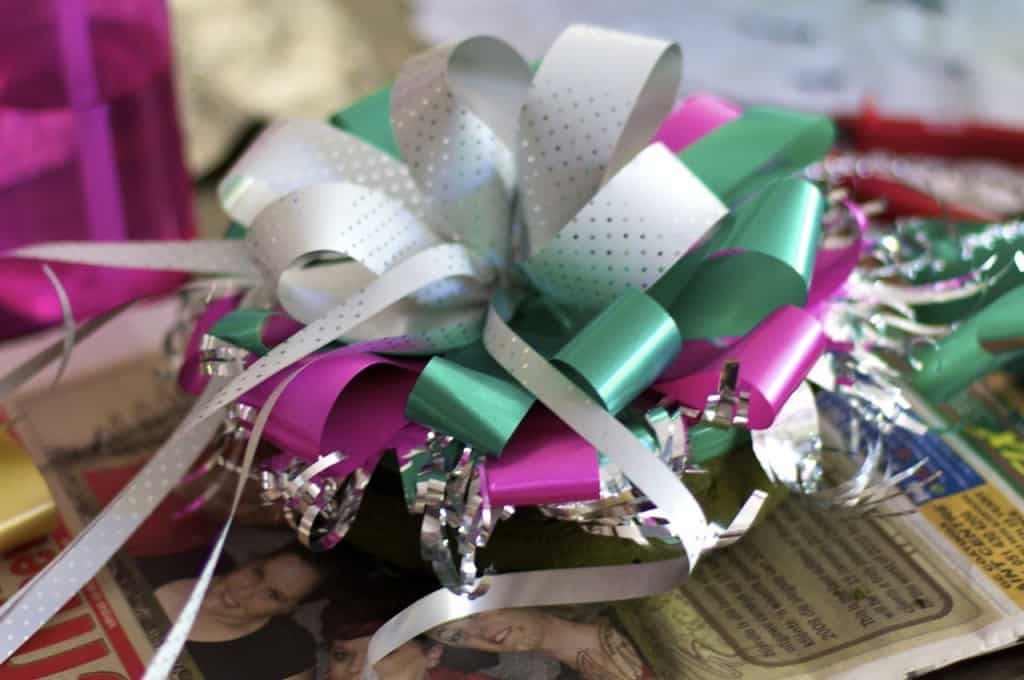
Next I found a ribbon that looked like it would go nicely in the middle. Since it was wire-tied, I poked some holes through the other ribbons into the oasis (Mark has now told me it’s called that) and pushed the bow’s wires through to the other side. I was excited because this bow was really shiny and I love polka-dots.
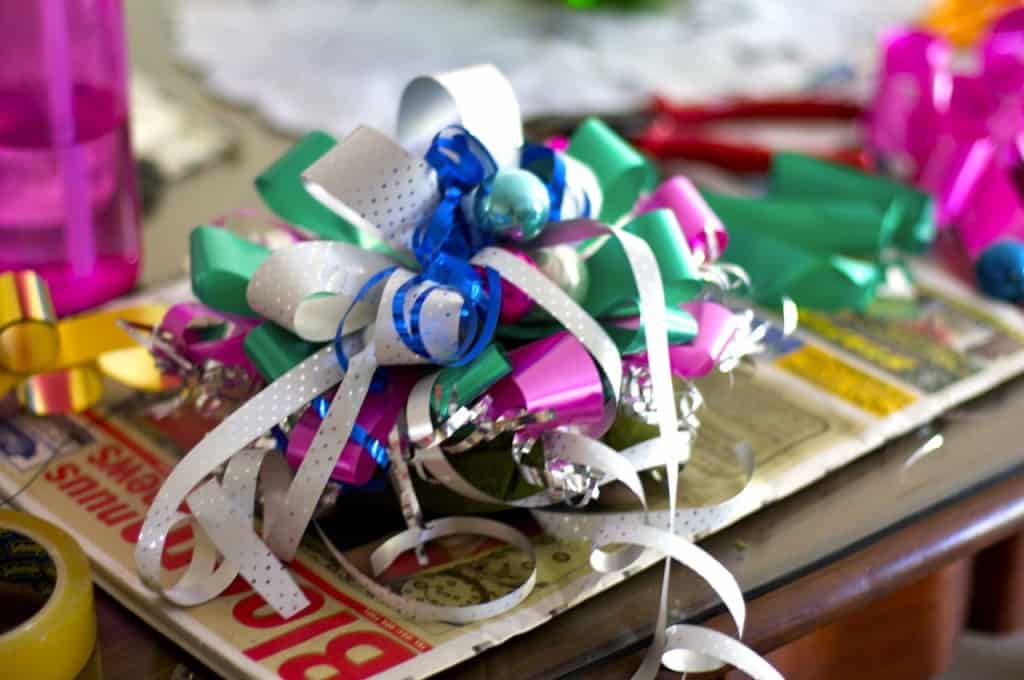
Finally, I decided a few old Christmas ornaments we didn’t put on the tree might add a bit of interest and colour, so I tied them in with one of the strands of the bow that I’d just added. I added a little bit of blue ribbon for a splash of different colour and because the ornaments were kind of rough around the edges. I arrived at this delightful sight…
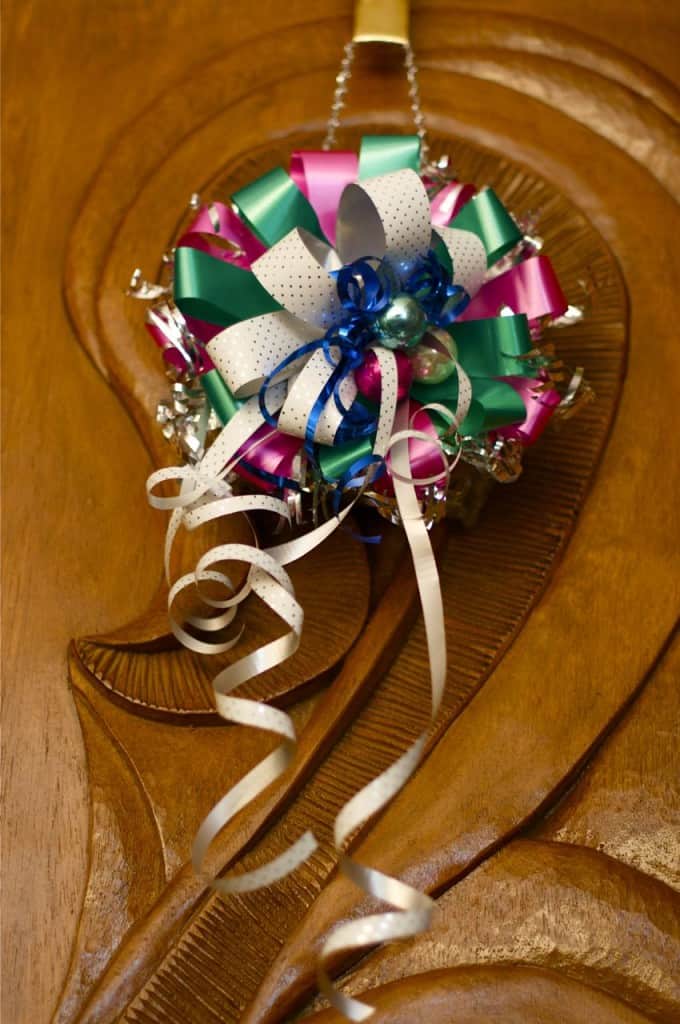
I thought at this point we could add some greenery around the edges, but my mother-in-law liked it just the way it was, and we hung it on the door! I think this would potentially be an adorable (and wonderfully inexpensive) wee gift, that you could put in an interesting container, like a cake tin or a hat box. You might prefer to use some slightly more ‘Christmasy’ colours in your neck of the woods…which I think would be just fine! 🙂
So here’s the final product! If you give it a try yourself, PLEASE let me know!

 I create resources to help people find deeper, more meaningful relationships with God through pursuing, pondering, and prayer. The "Shop" link above will take you to the home of many of the lovely resources I’ve created to help you keep walking one day deeper with Jesus.
Well, thats adorable! I think it’s just called a “form”. But I knew what you were talking about!